 |
||
 |
|
||
|

|
|
 The Whoppers are a softball team sponsored by the Upper Lazy River Bait & Tackle Shop. You might see them Saturday afternoon playing the Wildcat Drillers on a community field out near the water treatment plant. File Preparation Steps 1. Come up with a concept. Though the name I chose was silly, I decided to create a conservative logo incorporating a favorite photo of my dad and an interesting typeface. I would position this over the player's number. Zazzle offers shirts with 3/4 length sleeves in contrasting colors. I would use the sleeve color for the player's number. 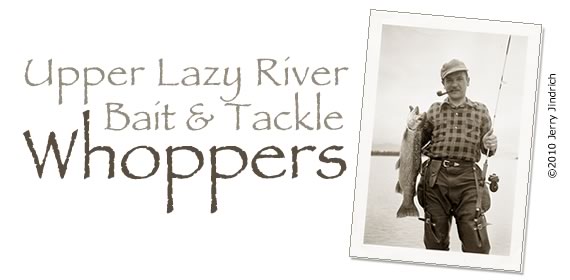 2. Scan the photo. If it's likely that the final image may be larger than original size of your photo, set the resolution of the scan for 300 or 450 ppi so the photo appears sharp. If you don't have a scanner and scanning software, you could take a digital photo of the photo and upload it to your computer instead. In that case, remember to shoot at a high resolution.
3. Check the specs. Zazzle shirt specs for a vertical design are 1800x2100 pixels at 150 ppi. In your drawing/graphics program, create a new file, 1800 pixels high by 1200 pixels wide. Set the resoultion at 150 ppi. 4. Add photo. Open the photo in your drawing/graphics program. Copy and paste to the new file. I added an outine and a drop shadow to the photo and tilted it. 5. Add text. Type the shop's name, select an appropriate font (this one is called Papyrus), adjust size and colors to your satisfaction. Note: if you plan to sell or otherwise distribute your work, add a small, simple copyright notice. Use the Copyright symbol or the word Copyright, the year, and your name, like so: ©2010, Jerry Jindrich.. 6. Save your work. Save the file you're working on so you can make changes if necessary. Save a copy in JPG, PNG, PDF, or AI format for uploading. Product Creation Steps 1. Go to www.Zazzle.com. Click on "Create". 2. Select "Men's Shirts". 3. Choose a style. 4. Click on the "Create one now!" button. A blank shirt appears along with a window titled, "Get Started", inviting you to upload artwork. Follow links to "what kind of image" and "what size image" if you don't already have that information. 5. Click on "Select image". A window appears for uploading your image. 6. Use their tool to locate the image on your computer. 7. Click "OK" to upload. 8. After a few seconds, your image will appear in "Get Started" window. Click on the "Make it Now" button. A new page will appear, showing your art on a shirt. 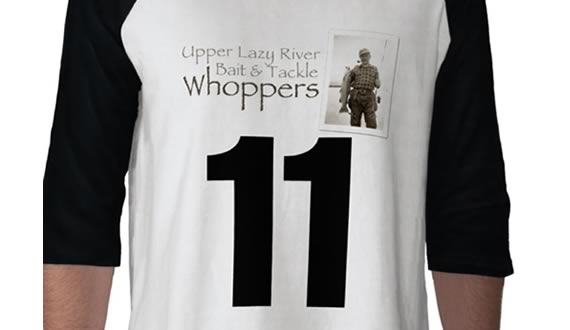
9. Options: You can go through the process all the way except for purchasing, and then save your design, start over, or abandon what you've done if you just want to understand and practice creating a product. Give it a try. It's fun! See these other sample projects: Wally's Wig-Wag Cafe Mug Yellowstone & Western Refrigerator Magent E. Gerbeaver & Sons Lumber Company Wall Clock |
|
|
|
Close window. ©2010, Jerry Jindrich. All rights reserved. |